Installing Hardwood Floor? Here Are a Few Handy Tips for the Best Results
Hardwood floors are one of the most popular choices of flooring due to their low maintenance and aesthetic appeal. They add a subtle touch of elegance and easily gel with most decor styles, making them an ideal choice for homeowners. You can either hire a professional service to install the floors or take on a DIY project and save money. Both come with their pros and cons, so research well before going for either. Consulting a local hardwood floor installation company can enhance your knowledge of hardwood floors. The company will take your preference into account before installing the flooring in your home.
“When helping you choose the perfect wood floor for your home or business, we take into account all of the factors that may affect your selection of the best flooring material,” says Arizona Hardwood Supply Inc., a hardwood floor installation company.
In this article, we’ve listed five simple steps or tips for installing a hardwood floor. You can either take a DIY project or monitor the process as a professional works on your floor.

Create a Budget and Choose an Installation Method
When preparing for hardwood floor installation, you can choose from several different methods based on your budget, taste, and the condition of your subfloor. Four of the most popular methods are the glue-down, click-lock, nail-down, and staple-down methods. The glue-down method is the most cost-effective method, where glue is spread on the subfloor, and the pieces are placed on it. The click-lock method is more popular with engineered wood and uses locks and tongues to click and stick the boards together. The nail-down and staple-down methods are more durable but require the subfloor to be in good condition. In this method, a nailer or stapler is used to attach the boards to the subfloor, ensuring that the nails or staples are hidden from view.
Research the costs associated with the chosen installation method, as well as any additional expenses like underlayment, adhesive, nails or staples, transition strips, and labor, when creating a budget for hardwood floor installation to avoid unnecessary expenditure.
Prepare the Area and the Subfloor
Preparing the area for hardwood floor installation involves ensuring that the flooring area is clean and has a smooth, even surface. You can choose to remove the old flooring for a completely new base, but this will increase the cost. Installing the new floor over the old one will provide good insulation and help set the floor nicely. Always remove doors and shoe moldings as part of the preparation.
Keep the subfloor clean and dust-free, even, and free of bumps or inconsistencies for the boards to adhere properly. This leads to a smooth installation. You can prepare the subfloor by removing any old flooring and cleaning up the space. Alternatively, you can add the new flooring on top of the old one. This will provide good insulation for the installation but might result in a slightly higher new flooring than the old one and result in an inconsistent look.
Acclimate the Flooring:
Acclimating the wooden planks to the temperature and humidity of your home is an indispensable step of the installation process. Arrange the planks in the room in the order you plan to install them and leave them for 3-5 days to adjust. Acclimation helps prevent the wood from expanding or shrinking after installation. Once acclimated, you can easily identify the straightest pieces and begin installing them along the walls. This process also exposes any damaged or warped planks that are unsuitable for installation, and they can be set aside immediately.
Cut and Install the Boards:
Cut the boards with an electric cutter or saw to install hardwood flooring. Cut them in a perfect square and at a 90-degree angle so that they line up well against the wall. You can use a jigsaw if you want an irregular or curved cut.
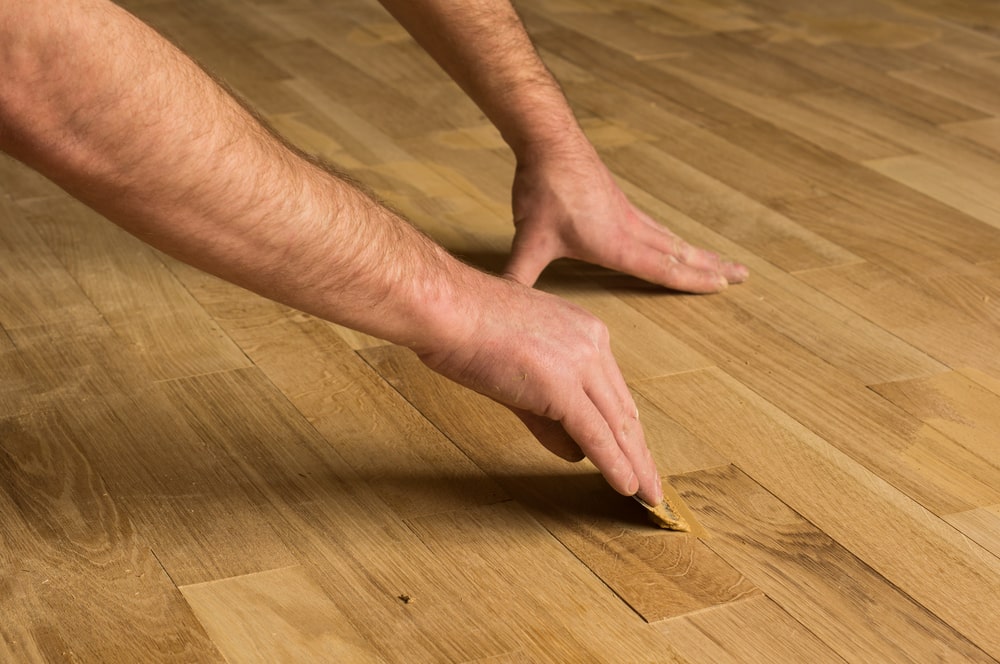
Fastening the flooring with a nailer is the safest and quickest method, and you can choose between face-nailing or blind-nailing techniques for this. Always start installing the floor from the straightest wall and choose boards that align perfectly with the length. Keep a half-inch gap between the wall and the boards for possible expansion, which can be covered by molding later. For the last few rows, cut and place wooden pieces as required, and use putty to hide any scratches or ridges caused by the nails.
Add Important Finishing Touches:
The final steps involve filling in the last rows of the space. They can be tricky if the ends of the boards are mismatched. To fix this, leave at least six inches between the jagged ends and the wall, and cut boards into pieces as needed to fill in the gaps. Mix and match between different colors and textures of the boards to add variety.
After filling any nail holes or missing surfaces with putty, install baseboards and shoe moldings and attach them securely to the walls.
Building your dream home can be a challenging job. Flooring is one of the most important parts of the decor and must be handled delicately. With proper installation and finishing touches, a DIY flooring project can be a fun and cost-effective way to bring the best results to your space. Just ensure that your home insurance covers any damages you might incur during the process. To be safer, you can always hire a professional floor installation company to help out with the project.


